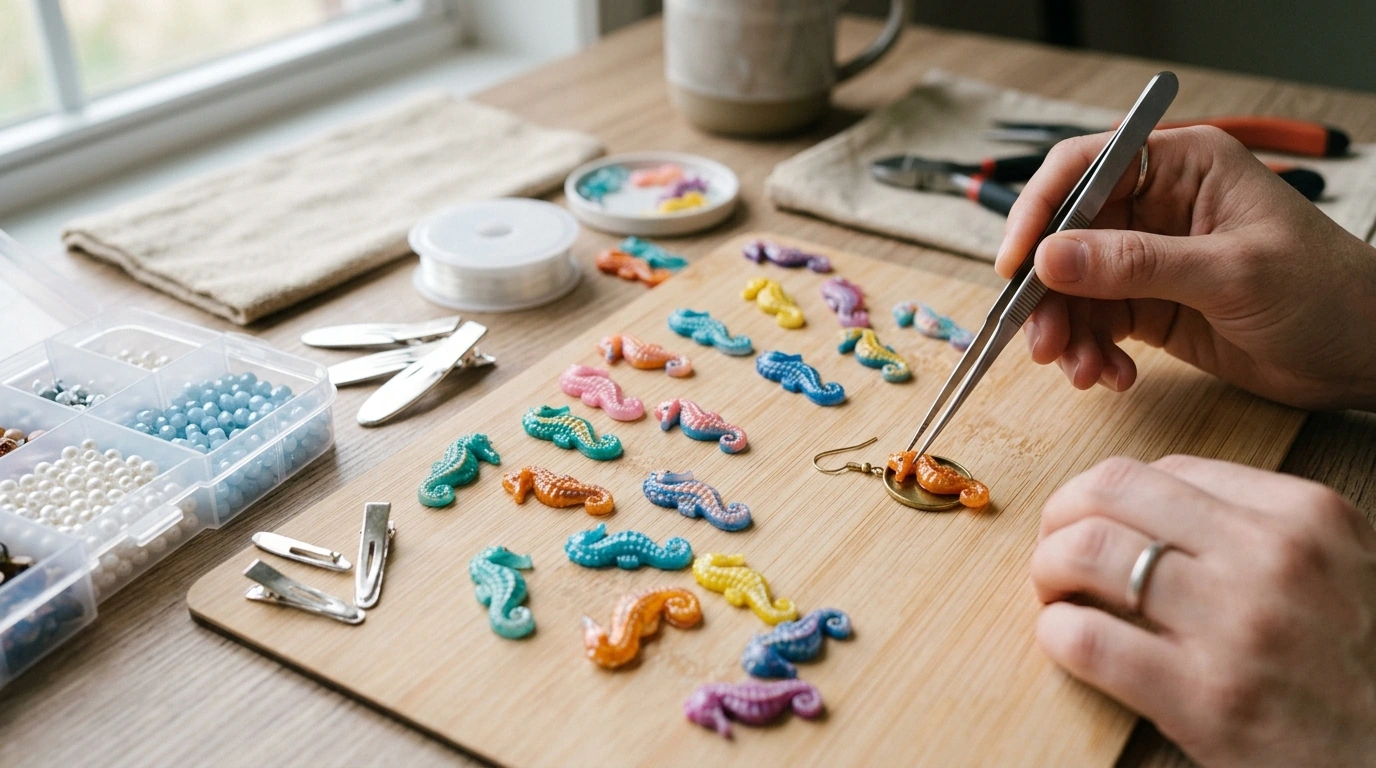
Small details are what make handmade pieces feel special. These colorful little Hippocampus japonicus resin flat backs bring a playful ocean mood to earrings, phone charms, hair clips, scrapbooks, and nail art—without adding bulk. With 50 pieces in the pack, it’s easy to build sets, mix colors, and keep extras on hand for quick custom orders or last-minute gifts.
Our team keeps a few easy-to-grab options in stock so you can start creating right away:
| Project | Best base | Adhesive choice | Finishing tip |
|---|---|---|---|
| Stud earrings | Flat pad studs | Gel super glue or UV resin | Seal the perimeter with a thin topcoat for durability |
| Pendant charm | Blank bezel or charm frame | UV resin | Add micro-glitter behind for a “sea sparkle” look |
| Hair clip set | Metal snap clips | E6000-style craft adhesive | Let cure fully before wearing to prevent shifting |
| Phone case deco | Hard case or silicone case | Multi-surface flexible adhesive | Avoid placement where fingers constantly press |
| Scrapbook cover | Chipboard or cardstock | Tacky glue | Top with a clear varnish layer if handled often |
| Nail art | Gel nails | Nail gel + topcoat | Cap the edges to help prevent lifting |
| If the item… | Pick this approach | Why it helps |
|---|---|---|
| Bends or flexes (silicone case, soft plastic) | Flexible multi-surface craft adhesive | Stays slightly elastic so the decoration doesn’t pop off |
| Is rigid (metal blank, acrylic, bezel) | UV resin or gel super glue | Creates a strong, tight bond on hard surfaces |
| Will touch skin frequently (earrings, hair clips) | Fully cured resin or jewelry-safe adhesive | Reduces tackiness and improves comfort |
| Will be handled constantly (keychains, bag charms) | Reinforced bond + edge seal | Improves impact resistance and wear life |
| Finished item | Common wear risk | Simple prevention |
|---|---|---|
| Earrings | Perfume/hair spray contact | Apply sprays first; wipe gently after wear |
| Keychains | Impact and abrasion | Seal edges; use thicker jump rings and sturdy hardware |
| Phone case deco | Constant finger pressure | Place away from grip zones; use flexible adhesive |
| Hair clips | Bending and hair product residue | Let glue cure fully; wipe clean after styling |
If you’re sanding, drilling, or working with adhesives and resins, use ventilation and sensible protective habits—especially for fine dust or fumes. For nail-related projects, the FDA’s nail care overview is a helpful reference point: U.S. Food & Drug Administration (FDA) — Nail Care Products. For respiratory protection guidance when crafting around particulates or vapors, NIOSH provides clear fundamentals: NIOSH — Respiratory Protection.
“Flat back” means the piece has a smooth, flat underside designed for gluing onto another surface like a bezel, clip, or case. It’s meant for bonding, not stringing, unless you add a bail or mount it in a setting.
For rigid metal blanks and hard plastics, UV resin or a gel super glue style adhesive usually gives a tight, strong bond. For flexible plastics (like many phone cases), a flexible multi-surface craft adhesive is better so the bond can move without popping off.
Yes—these can work as 3D nail charms when you place them into builder gel or a thick gel layer and fully cure. Capping the edges with topcoat helps reduce lifting, and keeping them off high-pressure zones improves wear time.





Leave a comment